
We recently were able to go on a camping trip. We have not been camping with our two kids and wanted to take them before it got too hot out. We went tent camping which in my opinion, is a totally different experience than camper camping. I would love to go camper camping, but right now, we have a tent, so these tips are geared more toward tent camping with small children. We have two kids ages 4 and 2.
1. Visit your local Dollar Store before you go. They have so much that is helpful. And who wants to spend more money than necessary! Here are some things I bought from the Dollar Tree that I found helpful.
1a. Buy some inexpensive toys to keep the kids occupied. We weren't always doing things in the campground with the kids. Sometimes my husband would go fishing and I would stay at the campground with the kids, and sometimes they just needed something to do while I was cooking or setting things up. The biggest hit was off-brand Play-doh. This stuff was as good or better than the name-brand stuff and it was 4 packs for $1! I didn't care if this dough got dirty or dried out. And they played with this a lot.

1b. Buy a pop-up hamper. This worked perfect for trash bags. I hate when the bag is on the ground or just kind of hanging up and it's hard to throw things away one-handed when cooking. Most of the time we used a large black trash bag, but we ran out before I got a picture, so this is just a little plastic bag. The big one worked better. And of course, our trash and food all got stowed away in the van at night to prevent luring any bears. (You can see the hamper with the black trash bag in it in the very top picture.)

1c. This paper towel holder was handy to have around. It's not a necessary thing, just somewhere to keep your paper towels so they are convenient and not rolling onto the ground.

1d. Glow sticks! Not only did these provide some amusement for the kids, but they served as flashlights for them before bed, but we also put them in our tent to act as night lights. The kids are used to sleeping with a night light and these were perfect.

`1e. This container worked perfect for our sugar for our coffee. I taped the lid to make sure it stayed closed.

1f. I didn't get a picture but the salt and pepper shakers that can close were nice to have so you don't get salt and pepper everywhere. It was a two pack for $1.
2. Bring your small appliances. I don't know if you would consider this "glamping" but we brought our Hot Shot (not an affiliate link, just provided for your convenience) and our coffee pod brewer. We had water and electricity at this sight so it was easy to do. The hot shot boils water really fast so it was perfect for our oatmeal in the morning. It was COLD in the mornings and hot oatmeal and coffee was really nice. Plus, I boiled some water in the Hot shot to add to my cold water for my dish washing.
3. Also, notice the water dispenser? I bought this at CVS and it has the pour spout at the bottom. This was nice to have for cooking, but it also served as a hand-washing station. I had soap close by so it was super convenient and easy to do.

4. Bring a blanket or pad to put down on the ground for the kids. My kids hate wearing shoes outside so they would take them off, My littlest had sore feet by the end of the night from walking around on the gravel! The next day we put an old blanket on the ground for a little more cushion.
5. KEEP YOU FOOD SIMPLE. This is probably my most important tip. For breakfast, I hardboiled some eggs ahead of time, so we had instant oatmeal and eggs for breakfast. It was fast, nutritious and filling.

A super simple recipe for a side dish was 1 1/2 cups of instant rice plus 1 1/2 cups of chicken broth. Make a bag out of foil and place the two ingredients inside. Close up the foil packet and place on the grill for about 10 minutes. This was a super fast and easy side!
I also had formed the burgers ahead of time and froze them. They thawed out and it was easy to grill without much prep work.
And, plus also, did you know you can grill cookies?

This is my Roc Crock Grill pan from Pampered Chef, so I put some cookie dough that I made ahead of time and froze on this pan and they cooked in about 20 minutes.
(I also used the new indoor/outdoor electric or charcoal grill from Pampered Chef. I only used the electric option here since it is much easier than dealing with charcoal. I love my new grill though.)

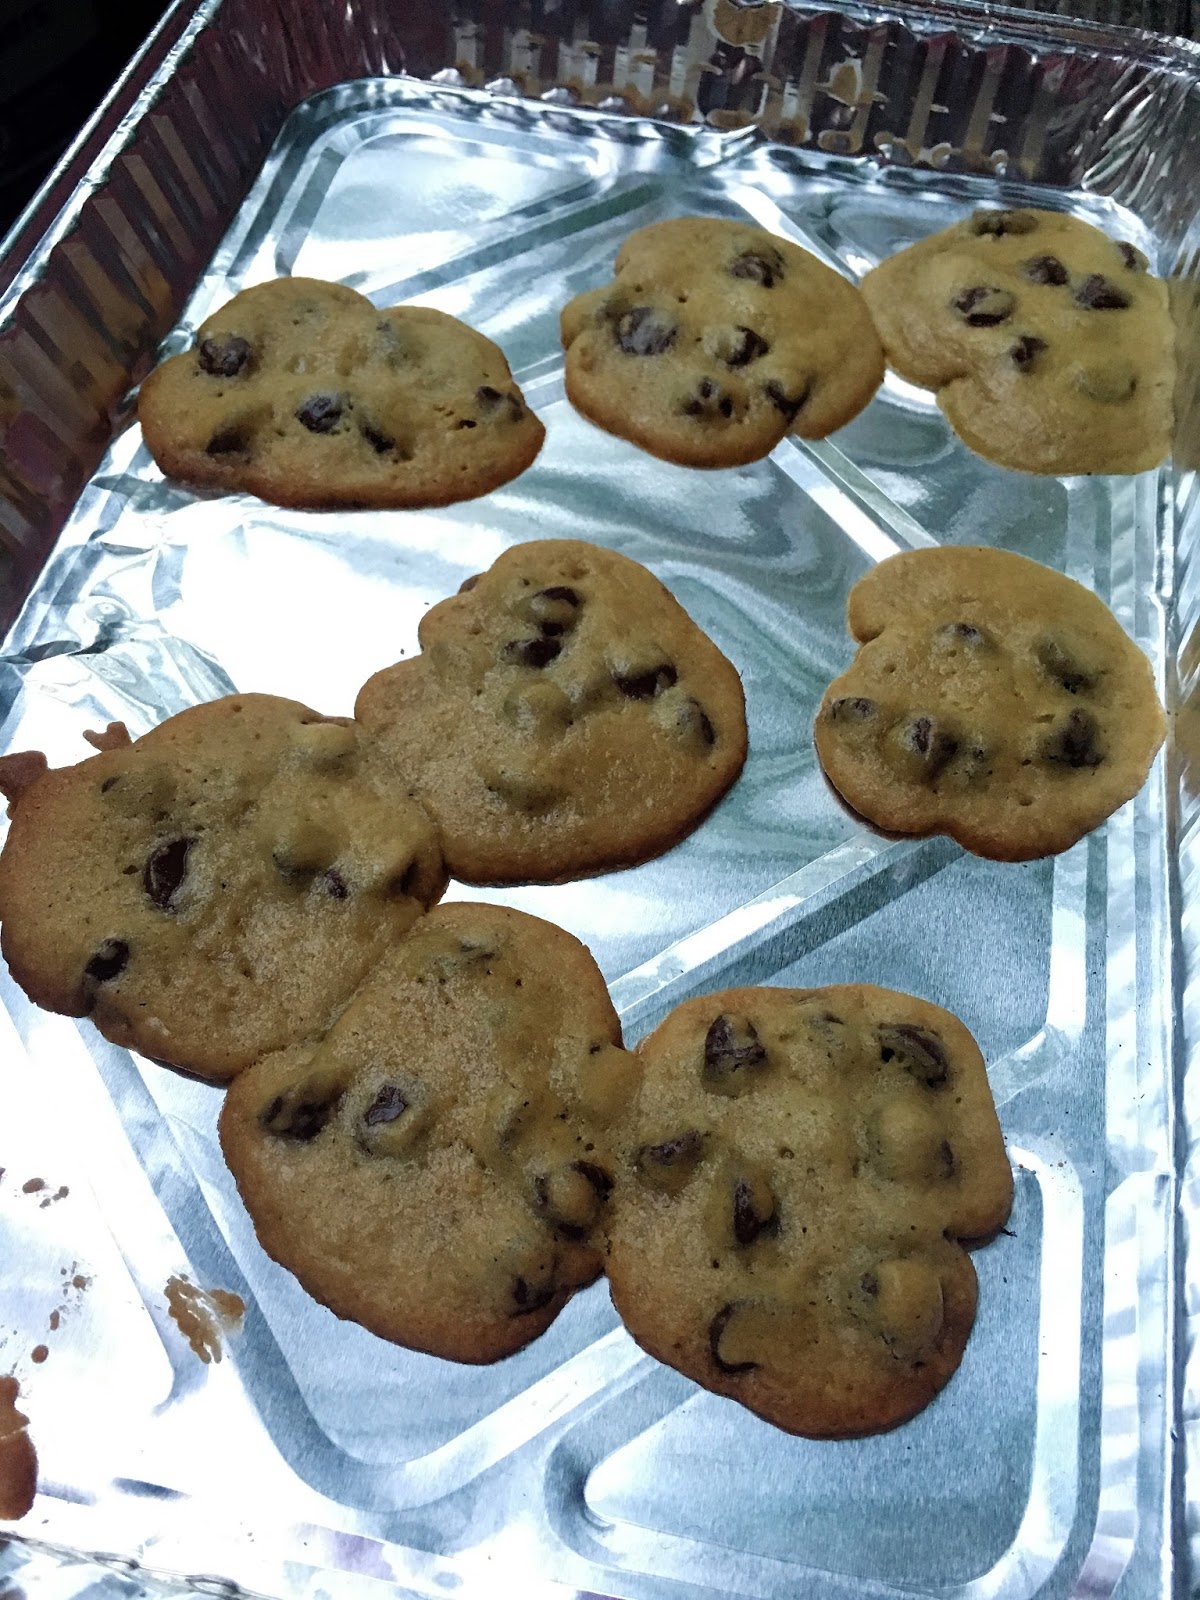
They did best in the grill pan, but I also tried a cheap aluminum pan (also bought at Dollar Tree) and they worked but were much thinner.
And I even made a Chocolate Chip Cookie S'more! I couldn't even eat it all, it was so rich, but it was yummy.

So that's about all I have for now! These were just some tips that I found helpful. Camping with small children is hard work, but it was fun and we made good memories.
Comments
Post a Comment
Leave me a comment!